A modern iPhone has enough camera and processing power that “scanning a document” is no longer a printer feature - it’s a tap. NFC.cool Tools’ document scanner is built on Apple’s Vision framework, which means you get fast capture, automatic edge detection, and OCR that runs entirely on-device.
Here’s how to use it well.
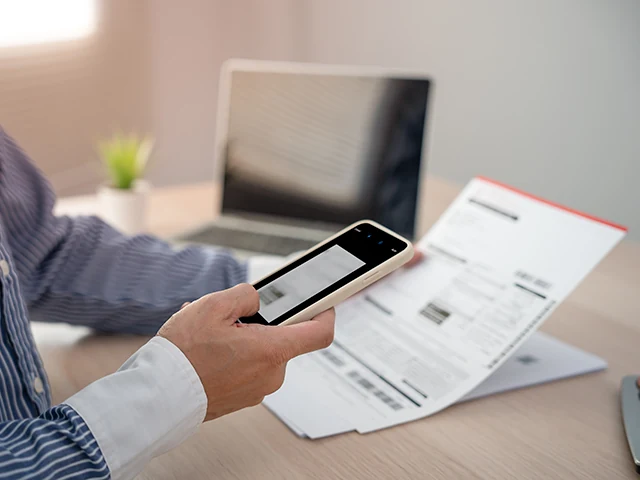
Capture: hold steady, light matters
Open NFC.cool Tools, tap the document icon, and frame the page. The scanner draws a yellow quad around what it thinks the page edges are. Most of the time it’s right. When it isn’t, drag the corners until they fit.
A few tips that genuinely improve the output:
Natural light beats overhead light. Office ceiling lights cast shadows from the phone itself onto the page. Daylight from a window, or a desk lamp angled across the page, is better.
Flat surface. A curved page bends the text and confuses OCR.
Avoid glare. Tilt the phone slightly to avoid the white square reflection on glossy paper.
Multi-page documents. Just scan one page after another - the app stacks them in a single document.
Post-processing: snap corners, adjust colour
After capture, you get a post-processing pass. The two things worth using:
Corner adjustment. The scanner’s auto-detection is good but not perfect. If the page has low contrast against the surface, drag the corners precisely.
Colour mode. Three options: colour (photos, coloured documents), greyscale (text on white paper - sharpest result for OCR), and black-and-white (handwriting, receipts - cleanest possible).
For most paperwork - invoices, receipts, contracts - greyscale gives the best balance of file size and OCR accuracy.
OCR: scanned image → searchable text
Tap Show recognised text below the scanned image to run OCR. The text appears in a panel you can copy from, search through, or save.
OCR quality depends on three things: image sharpness, lighting, and font. Printed text on a clean white background is recognised at very close to 100%. Handwriting is harder - Vision’s handwriting recogniser is decent on neat block letters and struggles on cursive. If a scan came out wrong, the most common fix is to re-scan with better lighting rather than fight the OCR result.
Export: searchable PDF
The trick that makes scans actually useful long-term is the searchable PDF export. It’s a PDF where each page is the scanned image, with the OCR text layered invisibly underneath - so the document looks like an image, but search engines (and macOS Spotlight, and Finder) can find words inside it.
In NFC.cool Tools, hit Share page as PDF and the export includes the OCR layer automatically. Drop the PDF into your filing system, search for “invoice 2024-02 acme corp” three months later, and the right document comes up.
Why scan instead of photograph?
You could just take a photo of the document. The reasons to use a scanner instead:
Edge cropping. A scan is trimmed to the page. A photo includes the desk, the coffee cup, the cat.
Perspective correction. Even held flat, a phone is slightly off-perpendicular. Scanners correct this so the page looks “as if scanned” rather than “photographed at an angle”.
Multi-page bundling. Five photos = five files in your camera roll. Five scans = one PDF.
Searchable text. OCR baked into the export.
For receipts, contracts, signed forms, business documents - scan, don’t photograph.
Document scanning is part of NFC.cool Tools for iPhone (Android version focuses on NFC; the document scanner needs Apple’s Vision framework).